Add a new Column
If you have created a fresh new board, its configuration will look something like the one shown in the below image, in which case you will need to add columns to this board, otherwise the view will be useless and empty. As well as, if you want to add a new column to your existing kanban view, you can use the below steps to do so.
How to add a new column
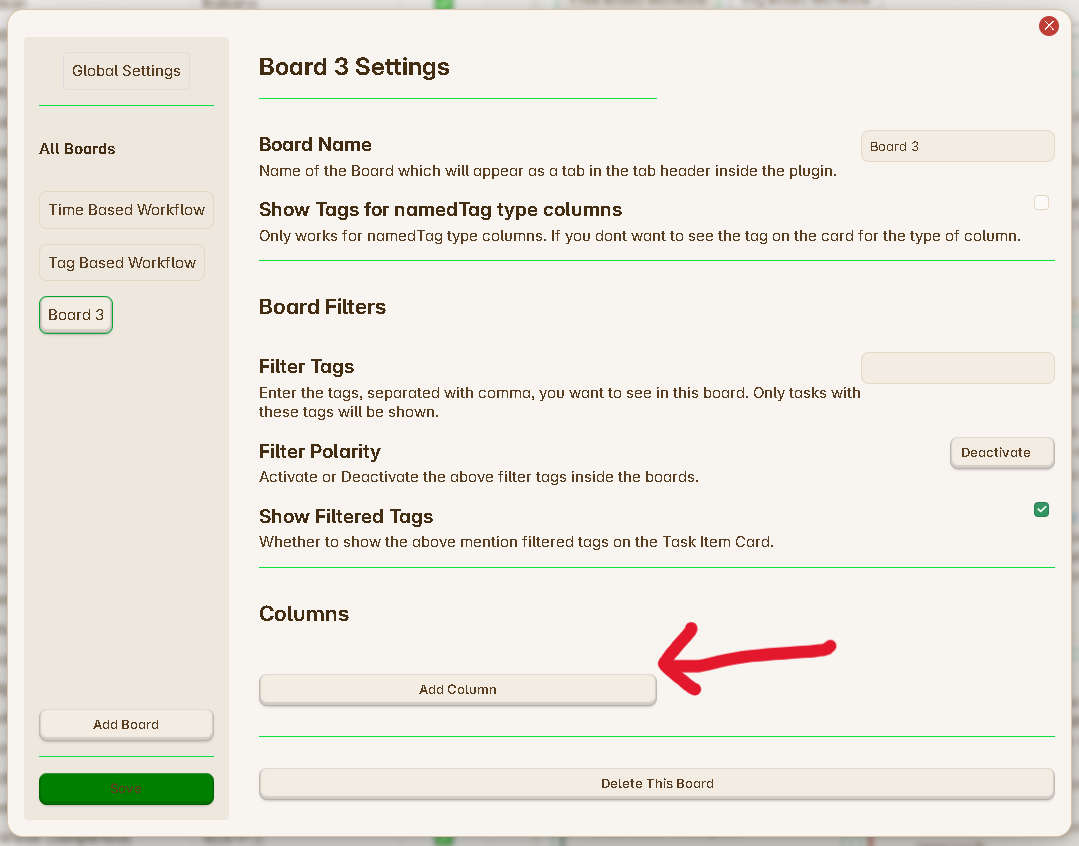
Step 1 : Click on the Add Column button you can see inside the Columns section.
Step 2 : Once you press on this button, a pop will appear as shown below :
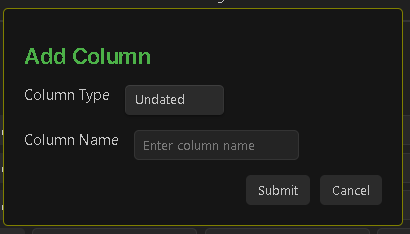
Step 3 : This pop-up will ask you to select the type of the new column and the name of this new column. You can add any name you like. If you don’t know about the column types, learn more about them from here and add the columns according to your board : Types of Columns.
Step 4 : Click on Submit button once you have filled the required details.
Step 5 : Your new column will appear under the Columns section.
Step 5 : Based on the type of the column, you will need to add the required values related to that column.
Save Button
Remember to click on the save button, to save your new changes.